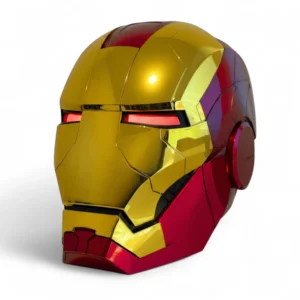
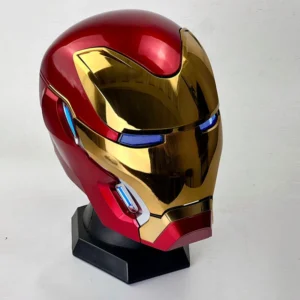
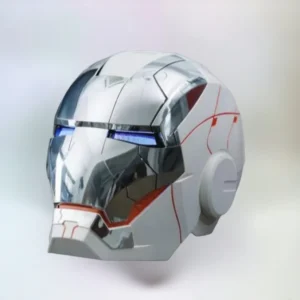
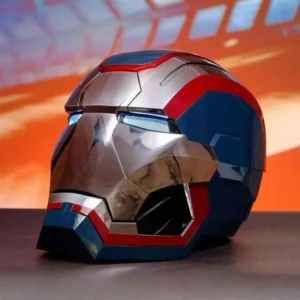
How to Use the Iron Man Helmet
Here’s a guide to help you get the most out of your iron man helmet, as well as some resources to follow for tips and tutorials.
In this guide we are going to learn basic functionality, such as wearing the helmet, activating lights, and utilizing voice control or other special features.
NOTE! THERE MAY BE SOME CHANGES IN THE FEATURE UPGRADED VERSION OF SOME OF THIS HELMET
Before shipping, it will be carefully inspected and after inspection, it will be packed in bubble bags secure with facial protective plastic, and finally put it into the outer packaging box to ensure safe transportation.
In other to use the voice control, touch sensors feature: First you have to set the battery, for Helmet : Need 4 (AA) battery and for Remote control: Need 2 (AAA) battery.
- Insert four AA batteries into the helmet’s battery pack, usually located inside the lining.
- Insert two AAA batteries into the remote control.
- Power on the helmet using the switch, which is typically located under the chin or inside the helmet.
- Locate the Power Button: Most Iron Man helmets have a power button inside the helmet or under the chin. Just check your manual to be sure base on your model of helmet.
- Turn On: Press and hold the power button for a few seconds until you see the lights turn on or hear a sound indicating it’s powered up.
- Turn Off: To power it down, press and hold the button again until the lights go off or the system shuts down.
- Ensure you are in a quiet environment for the microphone to work correctly.
- Speak clearly, using the exact commands for your specific helmet model.
The helmet can listen to your voice and do what you say! Here are the Common commands you can use:
- Jarvis, hello, start the system or Start system to turn on the helmet.
- Jarvis, hello, open the mask or Open the mask to raise the faceplate.
- Jarvis, hello, close the mask or Close the mask to lower the faceplate.
- Jarvis, start combat mode to activate special lights and sounds.
- Jarvis, hello, shutdown system to turn off the helmet.
Just say these commands out loud, and your helmet will respond!
The remote control has five buttons. Each button does something different:
A. Control mask integral open/close.
B. Mask multi-chip open/close.
C. Switch color of eye lamp.
D. Eye light on/off.
E. Helmet sound on/off.
Press the buttons to see what happens. It’s super fun!
The helmet has touch sensors on the ears.
- Touch sensors:
Left Ear: Touch to open or close the mask in one full piece.
Right Ear: Touch to open or close the mask with the faceplate sections moving individually.
Just touch the sensors gently, and the helmet will do its thing!
- Charging the Helmet: Check if your helmet runs on rechargeable batteries. Typically, the helmet will come with a charging cable or base. Make sure to follow the manufacturer’s instructions on how to charge it properly.
- Check Battery Level: Keep an eye on the lights or indicators to monitor the battery. Low battery might cause dimming lights or slower functionality.
- For Display: If you’re using the helmet for display purposes, place it in a prominent position to showcase the lighting and design.
- For Cosplay: When wearing the helmet for cosplay or events, make sure it’s secure, and the voice control and lights are functioning correctly. You can also incorporate additional props like gloves or suits for a complete look.